My personal goal for this channel and my other D&D channel is to attempt to post at least once per week on each. This week I am actually posting two with a third very possible as I am working on several things. Last weekend I created some Corpse and Scrap counters for me and my friend Keith for our Malifaux game. I thought I would post an entry here explaining how I made those counters. This will be the first post in my M&SU Workbench series which will feature scratch builds, homemade solutions and terrain building.
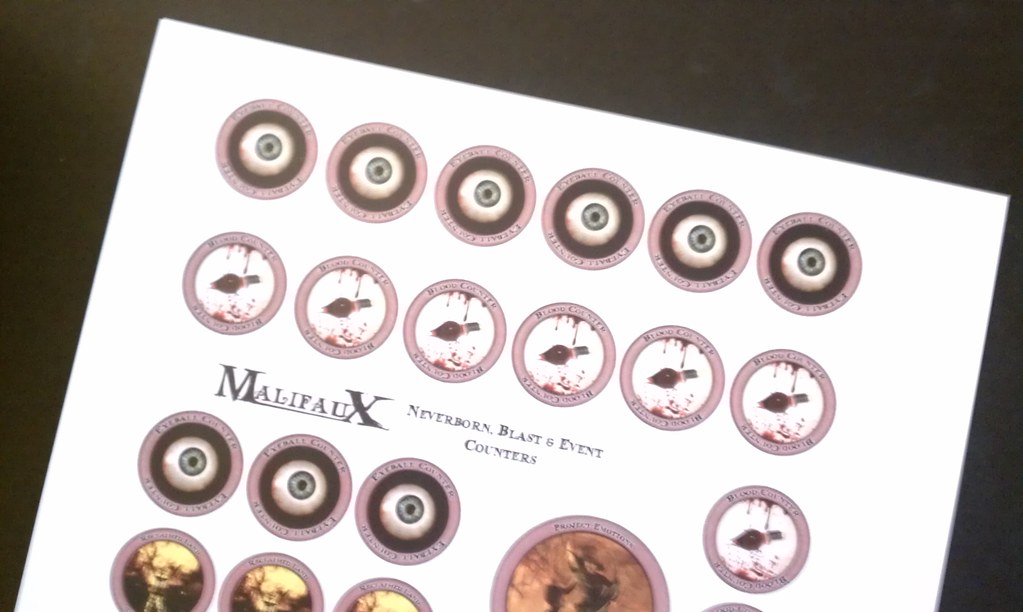 |
| Ratty Counter Print Page |
I started by printing out duplicates of the Ratty Counters. For this example I am going to create a counter that will have a Blood on one side and a Power on the flip. I needed the smaller counters to print out into 1 inch size which I will explain in a later step. It took me a few test pages before I got the size I was looking for. I started by shrinking the page to fit printed area and then had to manually shrink the page to 94% of that. You may have to mess with your print settings to get the desired size you want. I printed my test pages on regular paper. Once I got the size right I then printed my counters onto photo paper which gives a crisp and clean look to the finished product.
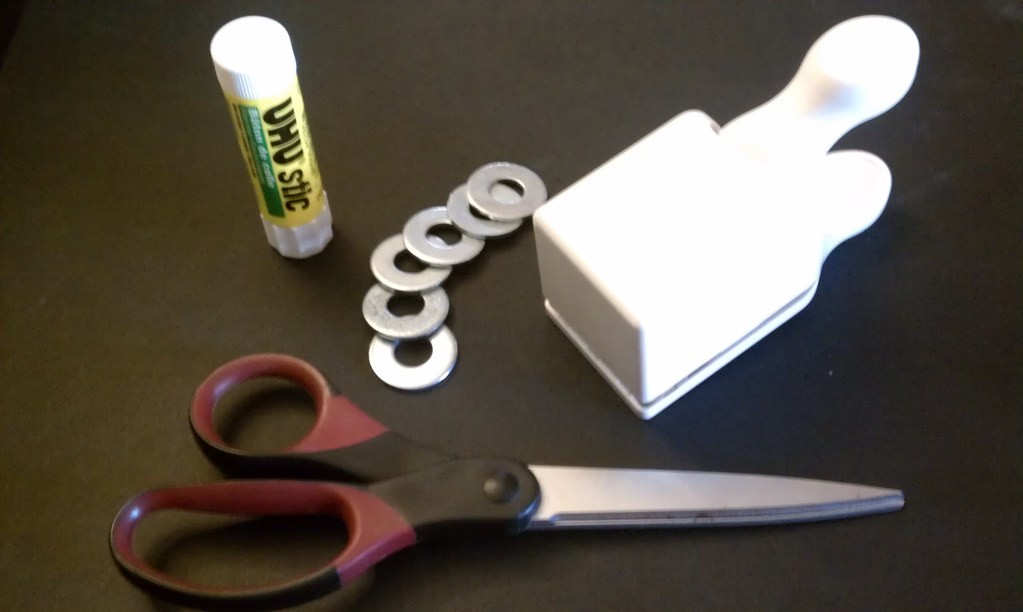 |
| Glue Stick, Washers, Scissors & Hole Punch |
The only other things I used was a Glue Stick (UHU Stic), 1 inch Outer Diameter metal washer, scissors and a 1 inch hole puncher.
- Glue Stick is easy to control and does not over saturate the paper token to cause warping or wrinkles.
- Scissors are used to get at the tokens on the printed sheets easier. Only used for rough cutting.
- I chose the metal washers because they just seem very durable. I have used plastic ones for D&D tokens and they work well too but I never have to transport them like I plan to with these.
- 1 inch hole punch is used to cut the counters out of the printed sheets. Just make sure you get the same size washers to match the hole punch.
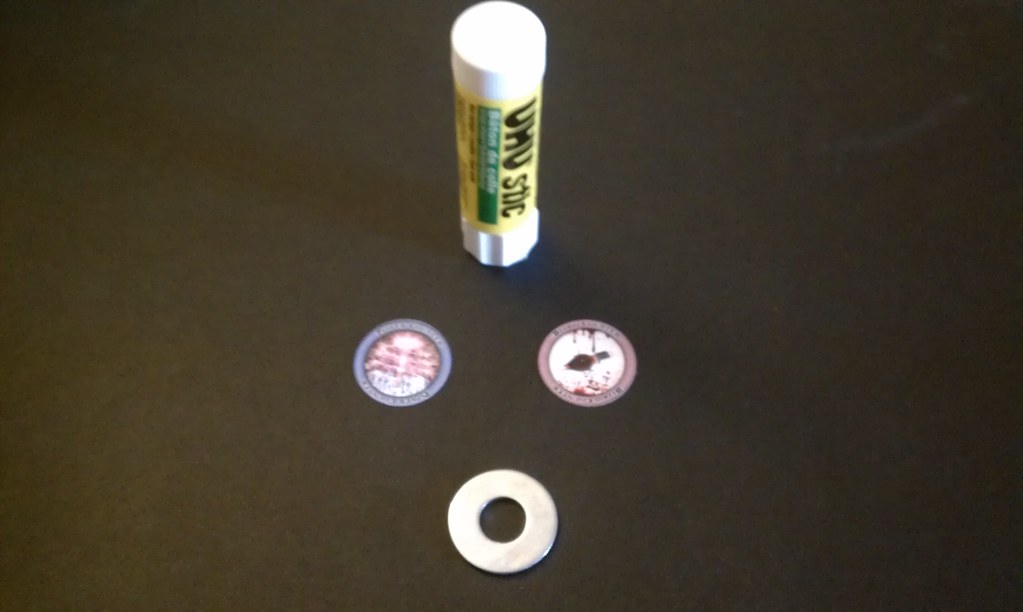 |
| Glue Stick, 2 punched out Counters and washer. |
Once I cut out a couple of strips of counters from the printed sheets for ease to get at, I punched a Power and Blood counter for each side. Now all I have to do is glue the counters to either side of the washer and wait for it to dry.
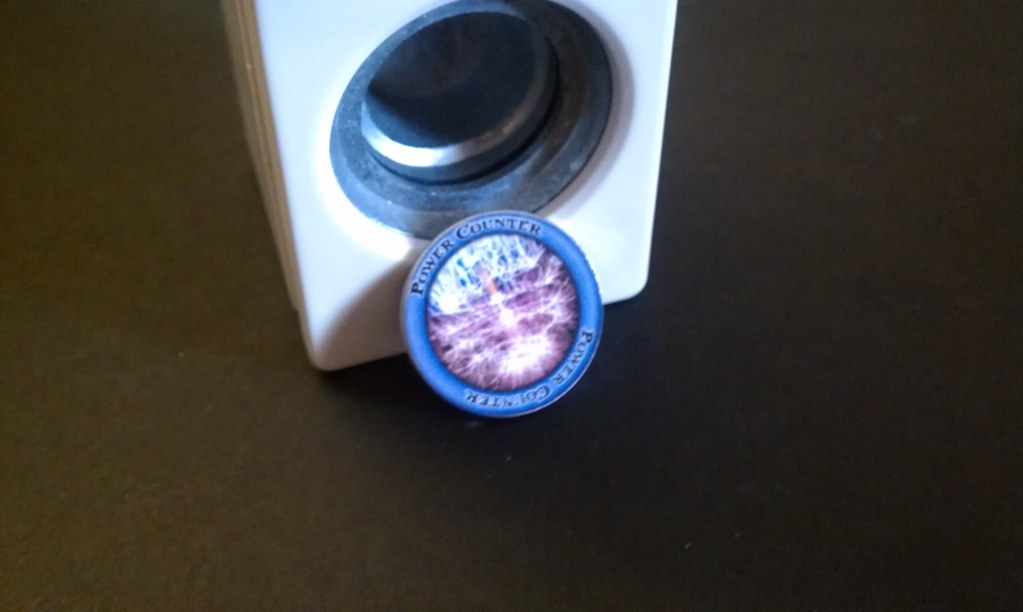 |
| Power Counter Side (and a closer look at the hole puncher) |
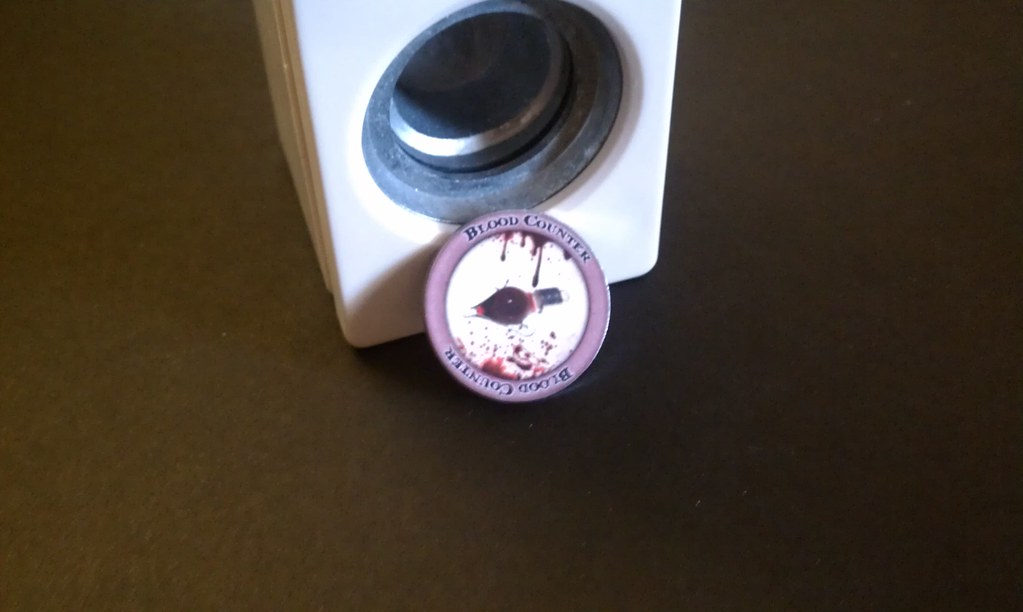 |
| Blood Counter Side |
I hope this tutorial helps someone else either in making their own this way or simply inspiring someone to do something differently on their own.
No comments:
Post a Comment