I wanted to get a little bit of an update out here on my hobby progress. The holidays and the first week of the new year here ended up being a bit busier than I had expected. I had every intention to finish painting my Kirai crew but that just hasn't happened yet.
I have finished my three Seishen and moved onto the two Onryo. At the time of typing this they are actually finished but I am still working on the video/pictures. The video below shows some of my work in progress though.
I used these models to practice my blending/layering on the flowing cloths which worked out well. Some of the colors I had picked to use ended up having to be swapped out due to some older separated paints. I also tried some not traditional metallic paints. I used a pearl white for the white parts of the robes and used a little bit of the metallic ruby red on the fan. I really liked this paints from Reaper and plan on using them some more once I get to my Ikiryo and Kirai models. I wanted to use some metallic colors to try and represent a silken cloth look and I was happy with the end results.
I have also begun work on my two Shikome and will get some updates to those by the weekend if all goes well.
Showing posts with label Workbench. Show all posts
Showing posts with label Workbench. Show all posts
Wednesday, January 11, 2012

Wednesday, December 28, 2011
On the Workbench - Kirai Crew - Seishin
Here are the first three finished models in my Kirai crew. When I say finished it means ready for the gaming table. I still have some accessories ordered that will be placed on these bases when they arrive. Until then these are ready to see some gaming action!
Saturday, November 19, 2011
M&SU Workbench - Nicodem
Thanks to my Twitter buddy across the pond James, I have been inspired to start getting some models painted up. I started and finished Nicodem today. I've always thought he looked like the vulture toting pimp of Malifaux so I just had to paint him up in pimp purple. I also added some blood stains to the vulture's beak. I changed how I did my floor boards too and am much more pleased with this out come. If you have any questions on how I did anything or what colors I used, feel free to ask.


Wednesday, November 16, 2011
M&SU Workbench - Guild Autopsy


I experimented multiple times with trying to find an undead skin color and eventually gave up and settled for the one used in these pictures. It ended up being a Vallejo Model Color Light Grey with s very small bit of Vallejo Game Color Goblin Green. I finished it off with a GW Sepia wash just to try and highlight some of the details. I have since ordered the Reaper Triad Undead Skin pack and will be using it on my next models.
The trench coats were painted using Vallejo Model Air Dark Grey Primer then highlighted using the above mentioned VMC Light Grey. GW Badab Black was used to add further shadows and then GW Devlan Mud was added in multiple layers to add the dirty bottom effects. VGC Bloody Red was used for the cuffs and trim to the coats.
The Boots were VGC Leather Brown with some shading of Leather Brown with a drop of VGC Charred Brown. These also received the GW Devlan Mud wash when the coats were done.
The bases were created using wooden coffee stirrers to make the wooden floor planks and cork was used to make the earth ripped from the ground underneath the floor boards. The wooden planks aren't quite where I want them to be. I simply did a couple of layers of Devlan Mud wash at this point. I think I may go back and actually paint them to try and mimic floor boards a bit more. The cork was based with the previously mentioned VGC Charred Brown and then dry brushed with progressively lighter Charred Brown using VGC Earth. I am fairly happy with this effect and only want to add some simulated roots coming out of the cork at this time. I think I may try floral wire painted a light brown and see how that looks.
The only thing I wanted to mention that is hard to see in the photos are that the pistols and the blade (which was reversed compared to most models) actually have a rust wash added to them to make them look old and unused as well.
Saturday, November 5, 2011
M&SU Workbench - Malifaux Counters
The scratch build and homemade alternatives in the wargaming hobby is what originally got me into table top gaming in the first place. Last year I was running a fairly successful and popular Youtube Channel that shared some of my homemade cheaper solutions to things as well as my painting and battle reports. In the end the channel just became more of a second job for me and the fun of it was lost somewhere along the way. The wargaming community itself has always been great to me and I am hoping I can still feel a part of that community with this blog, but without the stress and demand that I had with my video channel.
My personal goal for this channel and my other D&D channel is to attempt to post at least once per week on each. This week I am actually posting two with a third very possible as I am working on several things. Last weekend I created some Corpse and Scrap counters for me and my friend Keith for our Malifaux game. I thought I would post an entry here explaining how I made those counters. This will be the first post in my M&SU Workbench series which will feature scratch builds, homemade solutions and terrain building.
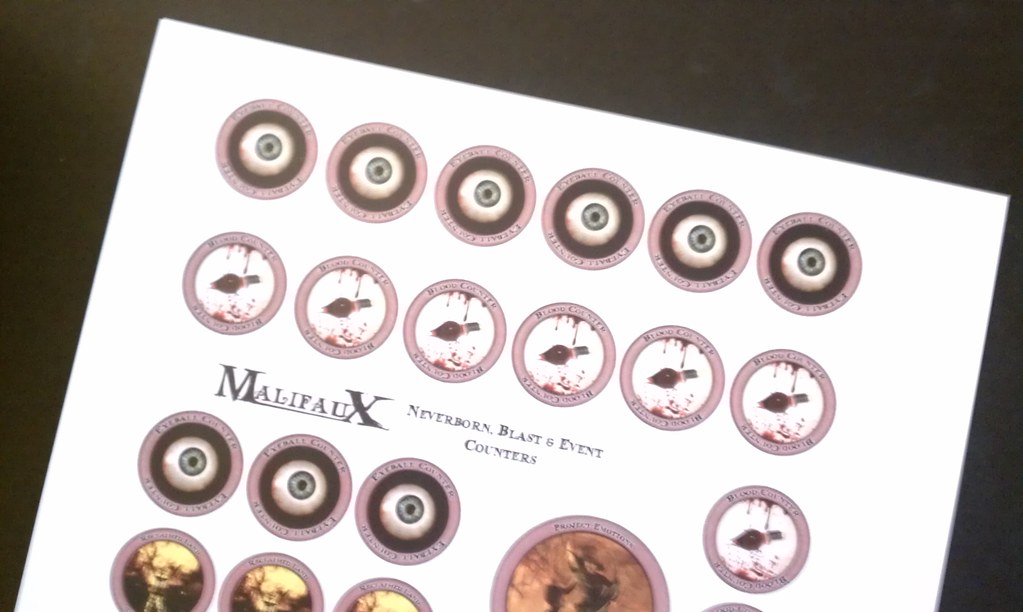 |
| Ratty Counter Print Page |
I started by printing out duplicates of the Ratty Counters. For this example I am going to create a counter that will have a Blood on one side and a Power on the flip. I needed the smaller counters to print out into 1 inch size which I will explain in a later step. It took me a few test pages before I got the size I was looking for. I started by shrinking the page to fit printed area and then had to manually shrink the page to 94% of that. You may have to mess with your print settings to get the desired size you want. I printed my test pages on regular paper. Once I got the size right I then printed my counters onto photo paper which gives a crisp and clean look to the finished product.
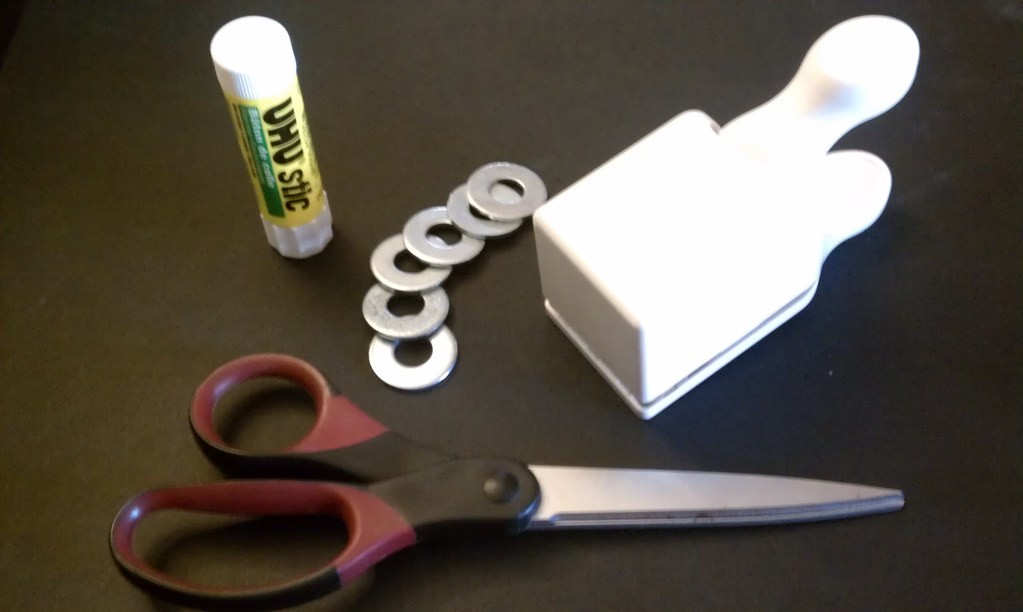 |
| Glue Stick, Washers, Scissors & Hole Punch |
The only other things I used was a Glue Stick (UHU Stic), 1 inch Outer Diameter metal washer, scissors and a 1 inch hole puncher.
- Glue Stick is easy to control and does not over saturate the paper token to cause warping or wrinkles.
- Scissors are used to get at the tokens on the printed sheets easier. Only used for rough cutting.
- I chose the metal washers because they just seem very durable. I have used plastic ones for D&D tokens and they work well too but I never have to transport them like I plan to with these.
- 1 inch hole punch is used to cut the counters out of the printed sheets. Just make sure you get the same size washers to match the hole punch.
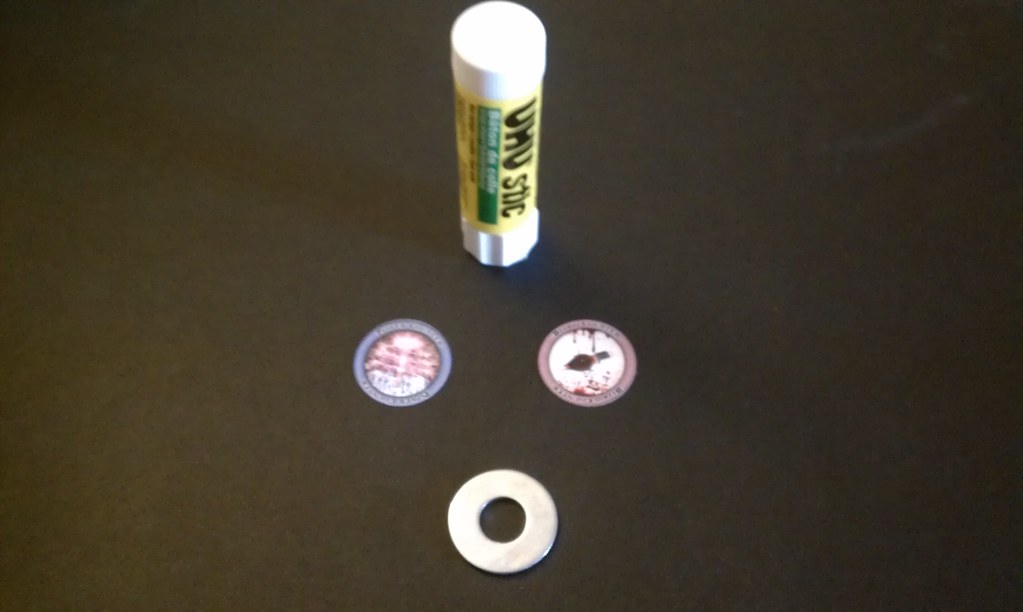 |
| Glue Stick, 2 punched out Counters and washer. |
Once I cut out a couple of strips of counters from the printed sheets for ease to get at, I punched a Power and Blood counter for each side. Now all I have to do is glue the counters to either side of the washer and wait for it to dry.
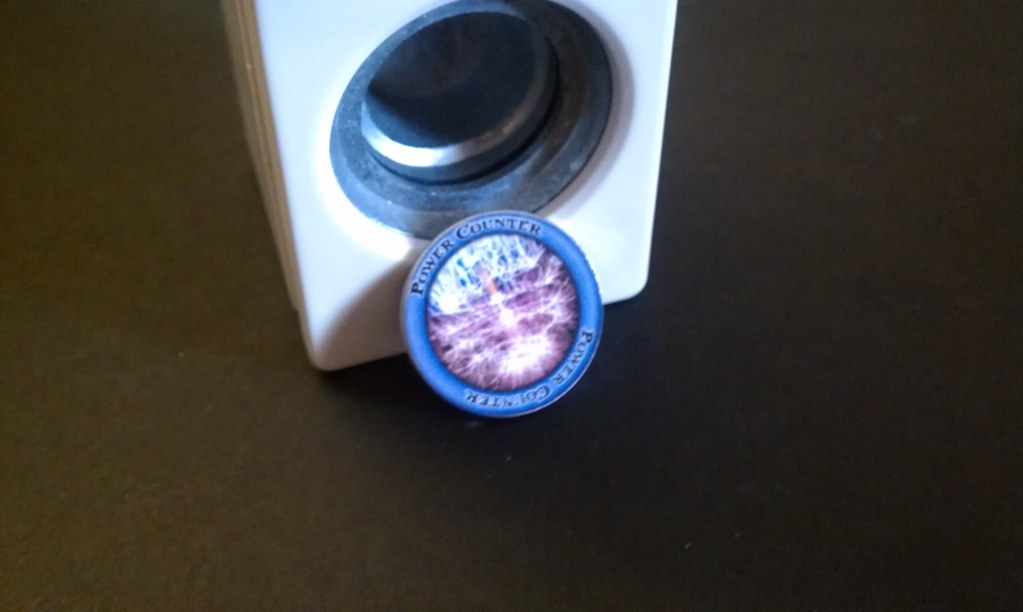 |
| Power Counter Side (and a closer look at the hole puncher) |
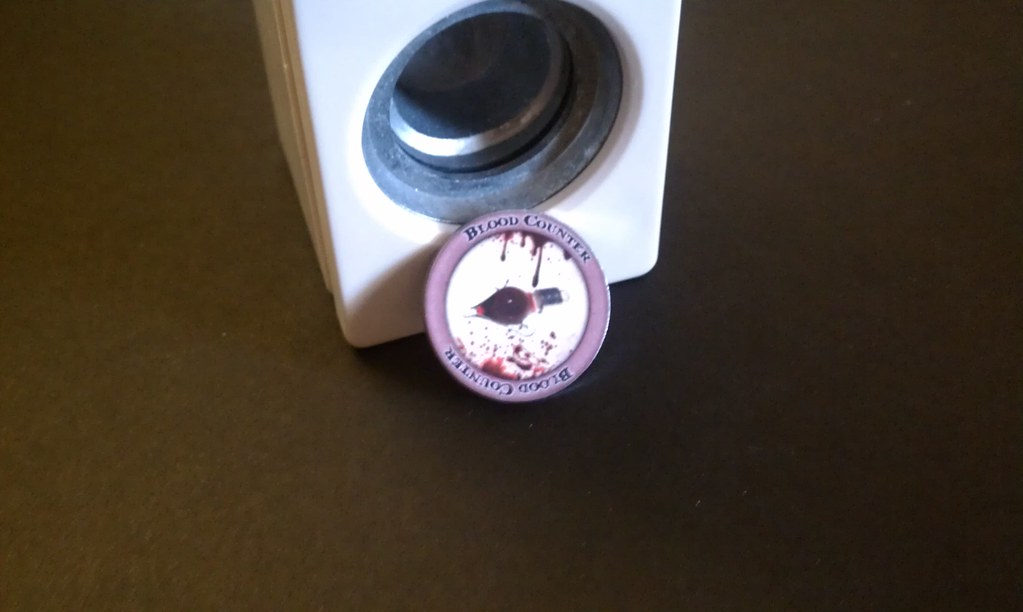 |
| Blood Counter Side |
I hope this tutorial helps someone else either in making their own this way or simply inspiring someone to do something differently on their own.
Subscribe to:
Posts (Atom)